PhD candidate, university teacher, enthusiastic scholar of 19c women's magazines

Author: julie (Page 1 of 2)

Parking Downhill

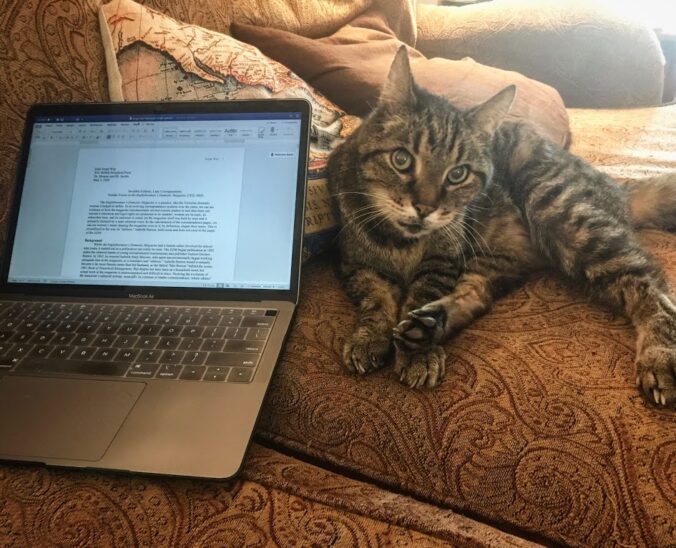
During my dissertation process, but also in my other writing, one tip that has really helped me when I’m in the middle of a big project is to “park downhill.”

Although I can’t yet nail down an original source for this concept (if you’ve got one, let me know, and I’ll update this!) here are the ways it has worked for me:

To me, parking downhill means that when I am at a stopping point in a large project, I always try to pause for the day in a way that will make it easy to get started again.

This could mean:

  • Leaving myself a note with very specific details about what I was about to write next
  • Marking my notes-to-self in an easy-to-search way (I like @@ or */, just as an example)
  • Starting with something “fun” or pleasant rather than something I have anxiety about

And here are some other writers’ thoughts on parking downhill:

What is the best writing advice anyone ever gave you?

Park downhill. I can’t remember who passed along this piece of advice — one of my former editors at The San Francisco Chronicle, who inherited it from someone else, I’d bet — but the sentiment has stayed with me. The idea is to stop while you’re ahead, to close up your laptop and end the work day when you have an idea of where you’re headed next. It makes picking things up the next morning that much easier. You’re excited and know what you want to write next — versus feeling stuck and staring blankly at your cursor for an hour, then deciding that you really should just go walk the dog, or wipe down the counters, or write that letter to your great-aunt or…. you get my gist. 

Lizzie Johnson, Washington Post Reporter (source)

Parking on a downhill slope eases the transition into work because you’re not starting your session with a dreaded task, but an interesting one. It’s easy to start your work. You want to start.

Jeffrey Windsor, Professor (Source)

‘Park downhill: at the end of the day, leave a sentence or paragraph or piece unfinished so you don’t wake to an empty screen.’

In my own writing life, I call this useful tidbit of advice: “Inviting your future self to take a seat.” Before I finish writing for the day, I write an invitation to my future self to take a seat the next day and write. I don’t mean a persuasive letter or note to myself to entice me into writing. I mean tactics like writing a topic sentence containing one idea, offering me an easy lead-in for starting a new paragraph the following day.

I also find leaving a question to answer about my data or the literature works well too as a jump start. ‘Anchor sentences,’ or incomplete sentences that I need to tie off, give me an equally effective gravitational pull to my writing seat every morning.

Ed Yong, Science Writer (Source)

I hope this tip is helpful for some other folks who may, like me, find large writing tasks daunting at times. Bit by bit, it really helps me to keep that momentum going, and leads to solid progress.
Zotero 6: built-in PDF Annotation

While it’s been true for months now, I would be remiss not to make note here of the wonderful new PDF Annotation features within Zotero 6. (And the newest version of the Zotero mobile apps.) Saved PDFs of books and articles now open within a tab in Zotero, and it has robust annotation tools built in. This streamlines my previous workflow tremendously.

Here’s a helpful recap explaining how to make annotations into notes within Zotero 6 — truly an amazing tool for researchers in any field.

Creating an index for the EDM

As part of my ongoing dissertation research, I’ve been attempting to amass for myself a coherent, chronological run of digitized volumes of the nineteenth-century British periodical The Englishwoman’s Domestic Magazine — particularly (for my own interest at least) during certain periods where women editors were involved.

While the magazine, which ran from 1852 to 1879, is old enough to be in the public domain, coverage is spotty between different libraries and databases — I’ve scanned some copies myself, filling in gaps in what I could find and download online. Recently quite a lot of it was uploaded via old microfilms scanned into the Internet Archive. It’s also covered in parts by Google Books and the Hathi Trust, but because it started over its numbering system three times (and published different versions with and without supplemental materials some months as well), it can be tricky to get a sense of the coherent timeline.

Anyone curious can view my ongoing progress getting it all organized here:
EDM Index

I’m also doing a more detailed index for the subset of specific volumes I’m studying for my dissertation, which of course I’m very happy to discuss/share with anyone remotely interested.

My PhD workflow for large numbers of digital readings

[ETA, August 2022: The new PDF Annotation features within Zotero in 2022 have really streamlined this process! I’m leaving this post up in case it is helpful for anyone, but check out my update here.]

Beginning my PhD coursework in fall of 2018, it became apparent to me quickly that a large proportion of my reading would be using PDF documents rather than paper books. Since I have historically been a person who learned best by reading on paper with a pen in my hand to mark things up as I went, I needed to find a workflow that would mimic that in some way, but without actually printing out all these PDFs and writing on them with pens. 🙂

Everyone will find their own system that works best, and I can’t promise what I’ve been doing would work best for anyone else, but I think it’s important to stay consistent and organized, so that when you get to candidacy exams and dissertation development stages, you are able to access all the hard work you have done during coursework so far. This is what I’ve done so far and been happy with in terms of organizing hundreds (now thousands) of PDFs in a way that lets me remember the work I’ve done with them and efficiently find what I’m looking for.

Here are the items I use:

  • A laptop running the program Zotero
  • A tablet with a good stylus — I use an iPad and Apple Pencil (while an iPad Pro might be ideal for this, I am using a much more affordable 6th generation 9.7″ standard iPad with the first version of Apple Pencil and it has been fine)
  • The iPad app PDF Expert for interacting with, highlighting and annotating PDF files (there are many other apps that can work well for this including GoodNotes and Notability. Personally I prefer PDF Expert because it loads really quickly and has worked well for me.)

And here is my system, in case it is useful for anyone reading this!

  • Set up Zotero – here is my earlier tutorial for organizing files in Zotero
  • Save PDFs to Zotero – You want Zotero to have the citation information but also to have the PDF itself. Ideally, your PDF will have searchable text in the file and not just be an image of the original pages.
  • Set up the Zotfile extension for Zotero (link above). I created a new folder on Google Drive that both my laptop and iPad would have access to, for use only as a place for it to put PDFs I wanted to annotate on the iPad.
  • Using Zotero, send the PDF to the tablet (Right click on the PDF file in Zotero, then select “Manage Attachments,” and then “Send to tablet” – this will put a copy of your PDF file into that folder you selected in the previous step)
  • Open PDF Expert on the tablet and navigate to the folder where Zotfile sends your things. (Once you’ve done this once it will start you out in that folder and things will be faster.)
  • Read the PDF and annotate it with the pencil/stylus. Highlights and typed notes tend to be easier for Zotfile to deal with later than handwritten notes, but you will find the balance that works best for you. If you want to write and draw all over it, that is fine too.
  • When you are done, close/save the PDF. PDF Expert will save your annotations and upload the new annotated version of your PDF back to that same folder.
  • Using Zotero, get the file back from the tablet. (Right click on the PDF file in Zotero, then select “Manage Attachments,” and then “Get from tablet”) Zotfile will then automatically save a text file (saved as a child note in Zotero) with all of your highlights and annotations. These are searchable later, which is very handy.

It all sounds kind of complicated but once you have it down it’s a remarkably quick process to open a file, mark it up, and have those marked up annotations usefully saved for you to work with later.

One last great Zotero tip:

If you go to the search box at the top (by default it usually says “Title, Creator, Year” there) and click the down arrow and change to “Everything“, you can type a name or concept or phrase into that search box and Zotero will search through the full text of every book and article you have saved there, as well as your saved annotations and notes.

It’s like having your own personal search engine for all the reading and work you’ve done and saved there. The first time I realized this, it was mind-boggling to me, and now I rely on it frequently!

3D Printing and Design for Literary and Cultural Studies

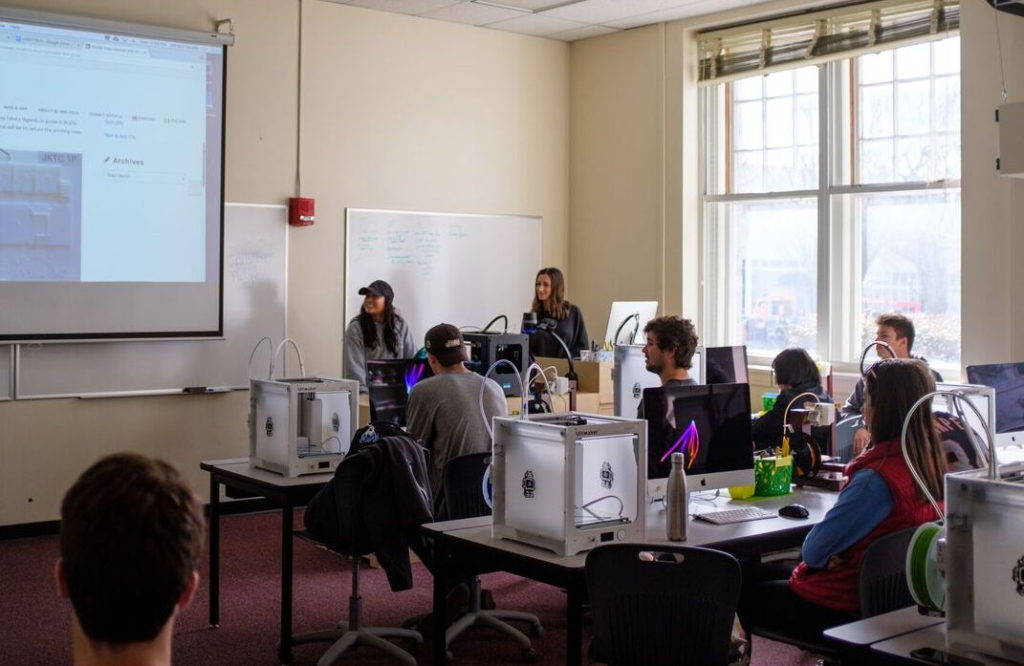
This past semester, I’ve been part of an interdisciplinary fellowship through the JMU Libraries, designing courses that will be using the amazing JMU 3Space, a combination 3D-printing lab classroom in historic Carrier Library.

Students at work in the Carrier Library 3Space Classroom (photo via JMU Libraries)

I’ve learned so much this semester from my colleagues in other disciplines, as we’ve practiced ways that we can use 3D modeling and design in our pedagogy. With this new experience, I’m excited to teach a course on literary and cultural studies that involves 3D modeling as part of our students’ critical toolset. Many thanks go to my JMU colleague Jamie Calcagno-Roach for her help facilitating this great learning experience, and to my ODU graduate professor Dr. Margaret Konkol for continually inspiring me to explore 3D modeling as a critical tool in literary studies.

Making Meaning with Digital Tools: HASTAC Digital Fridays Presentation

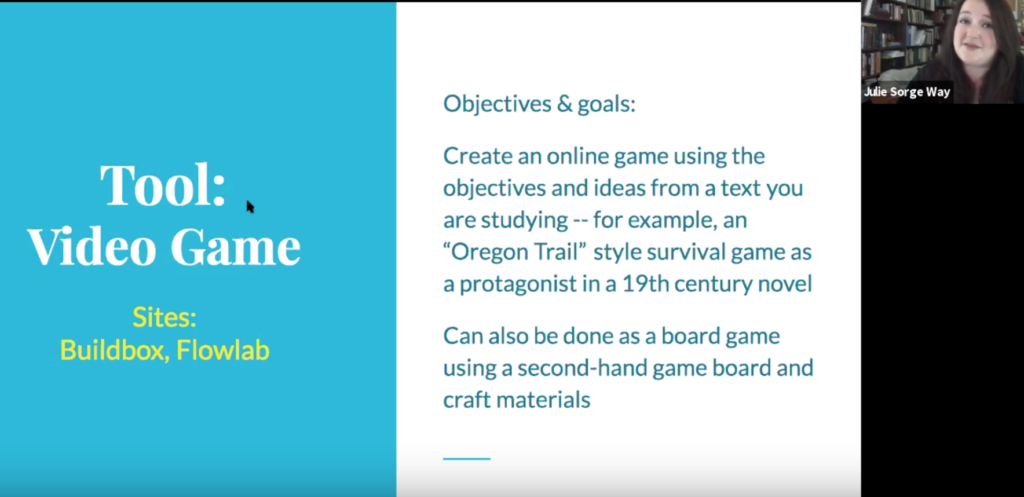
This past May, as part of our work as HASTAC Scholars, my colleague Rachel Willis and I presented for HASTAC in their Digital Fridays series, on the topic of using digital tools as meaningful course assignments, in addition to or in place of traditional papers.

Click here to view Rachel’s recap, and a video of our complete presentation

Some of the assignments and tools we discuss in this presentation include:

  • timeline tools
  • mapping
  • web publishing
  • textual analysis tools
  • photo essays
  • video and board games
  • object creation (via tools like Sketchup or Tinkercad)
  • podcasting

We enjoyed thinking through what can be beneficial for student learning about these alternative assignment types. Here are a few of our main takeaways:

  1. Think beyond “just” papers: Papers can be an excellent evaluation technique, but their use is rooted in many assumptions about thinking, knowing, and literacy. They are not always the best vehicle students have for demonstrating their learning. 
  2. With digital tools, walk students through exploring the interface early on. Model discovery. Don’t assume students know very much and build in class-time to take them through as much as possible technology-wise. 
  3. When in doubt, involve students in decision making. For example, allow students to work alone or in groups. Offer them two different deadline choices. Give them a selection of assignments to choose from.  This is another way of acknowledging student agency and recognizing that choices students make usually play to their strengths. 
  4. Imperfection is better than inaction. We learn from every change we make to courses and assignments, so even though we risk making mistakes, the work of a more inclusive, practical learning environment is important enough to warrant the risk. 

Thank you to Rachel for researching and presenting this with me, and to HASTAC and our facilitator Adashima Oyo as well.

Zotero for File Organization

[ETA, August 2022: The new PDF Annotation features within Zotero in 2022 have really streamlined this process! I’m leaving this post up in case it is helpful for anyone, but check out my update here.]

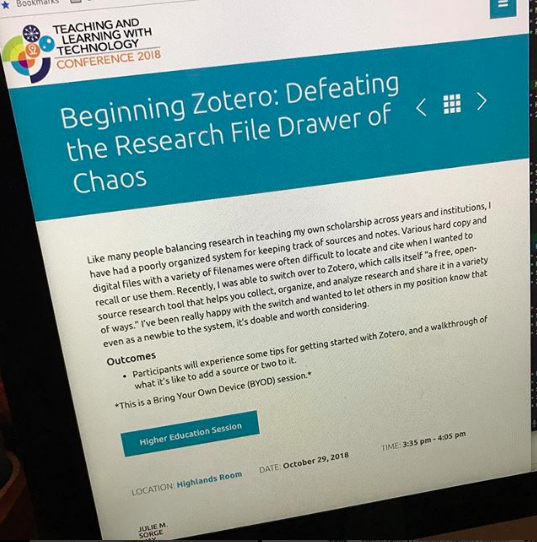
I’ve put together a small page with a beginner’s guide to using Zotero for file management — in hopes this can help out with scholars and teachers who want to use Zotero not just as a reference manager but as a way to stay organized with their own files. Here’s the Link!

So many of us have an overflowing file drawer or storage drive full of poorly maintained and hard to find PDF files — this is one smooth answer. 

The work from this page was presented at the JMU Teaching and Learning with Technology conference on October 29th, 2018. 

Getting started in the NYPL archives

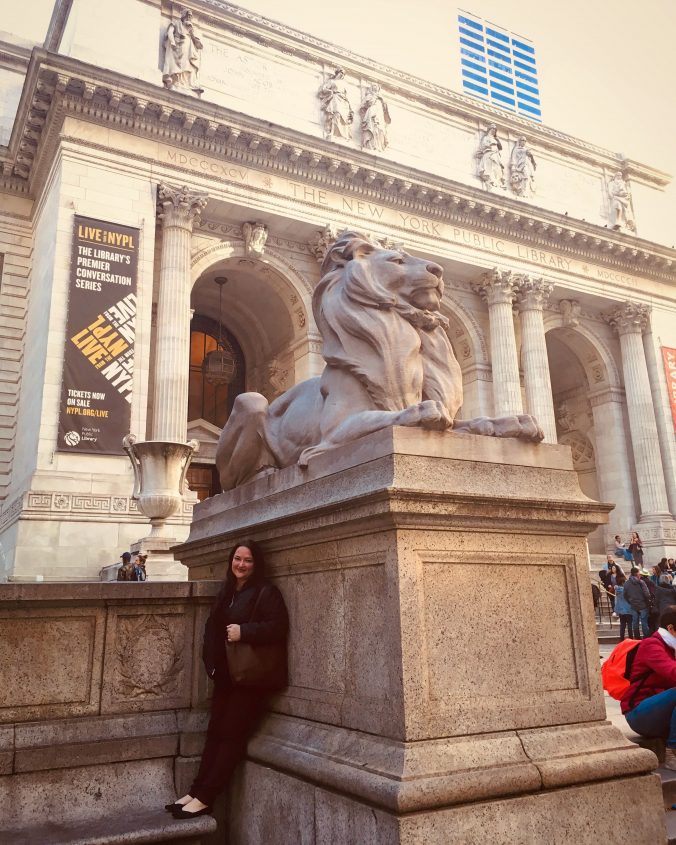
Although it might be obvious to those with lots of experience, I wanted to write a user-friendly “first-timer’s guide” for non-New-Yorkers about getting started using the rare books holdings at the New York Public Library, which I was able to do during a recent visit to the city. For nascent scholars, it could be a surprise to learn that even if you are not a New Yorker, you have options for access. The Schwarzman Building (the main library branch with the lions) is a huge, beautiful landmark in midtown Manhattan — it’s frequently full of tourists in the main areas, and you can’t blame them, it’s absolutely stunning visually — but it is also a working research library with some world-famous holdings. 

The Main Branch of the New York Public Library: The Stephen A. Schwartzman Building (Click to access via Google Maps)

For anyone who might wonder how to do this on a visit to New York, here’s what I did: (To be fair, I had used this library’s rare books archive once before while completing my MA thesis, so I was not a true beginner.) 

First, it’s probably obvious, but it’s absolutely essential to respect all of the guidelines for use of materials and be as quiet as possible so as not to distract your fellow researchers while working. If you have questions about what to do, the staff is very helpful.

  1. From home, apply online for a library card. Keep track of your username, PIN, and the temporary barcode number you’ll be given. You will have to show up in person with photo ID to finalize your account, but the majority of the process is completed online, so it was pretty quick in person: I’d say 5 minutes? I went near closing time on the first day I was in town, so perhaps it was a low-rush time of day.
  2. From home, locate items of interest in the online library catalogue. This is open for anyone to search. I did this by searching for a specific publisher I am interested in, so that helped me narrow things down right away. I am assuming that if you are reading this there is already something you are interested in at this library. (In my case, I am researching an area of Victorian publishing that crosses between periodicals and books, so their George A. Arents “Books in Parts” collection had some items I was very eager to examine in their original wrappers and bindings. To be honest, if you are working on any historical topic, the odds are pretty good this library has something of interest, as their collection is massive.) 
  3. Log in to the catalogue with your new credentials and begin to save sources you are interested in. Notice which ones are in Off-Site storage — these need to be requested at least a few days in advance, because most of them are stored all the way in New Jersey. If you have trouble requesting them with your temporary barcode number, you can email reference librarians directly for help. It’s important to follow up with them about it, though, as they get a lot of emails. Keep track of whether items you are saving are in a special collection or the main holdings, as this will affect where you read them. 
  4. Double check the hours for the library on the days you’ll be visiting, and the hours for your collection / reading room. If you have very limited time — I unfortunately had just one full day and part of the day prior — politely make that clear in your communication with any archivists or librarians, so things can be timed correctly. 
  5. Read up on the rules for researchers – many of the special collections require you to fill out a 2nd application for use of the materials, in which you describe why you are interested in the pieces, and give an academic reference. Don’t be intimidated: this step is not to keep you from working with items from the collection you are interested in, just to weed out tourists or casual spectators. 
  6. When you get to the library, first look for the “Library Cards” service desk – it was located down in the children’s area. Asking at the main information desk near the entrance will get you directions. Bring along your temporary barcode number from when you applied online, and know your username and PIN. Show your photo ID and sign forms to get your shiny new library card! It will have an expiration date since you live out of town, but KEEP IT after your trip anyway – they can refresh your dates next time you are in the city, and you won’t have to completely reapply. 
  7. Go to the coat check (this is on the lowest level along with the Library Card area) and give them your bag, coat, forbidden pens, etc. It varies by area, but the room / collection I was working with allowed you to bring in only a laptop and camera (phone), and a clear plastic bag with your personal valuables, which had to stay closed while you work. They did not allow you to bring in pens, notebooks, or books, or any cases that your laptop might usually be in. The coat check workers will give you large clear plastic bags to keep your valuables in (which you take with you), and your research materials (in my case, a phone, laptop, and cord). Precisely what you could bring was slightly unclear to me from the instructions online, so I’m glad I asked upstairs first, as there are quite a LOT of stairs between the area with the coat check and the area where you do the reading. 
  8. Take your plastic bags and go back to the reading room – try not to fall over from how beautiful it is as you walk in!  If you have pre-arranged for items to be on hold for you, they will already be there. Follow the instructions from staff — you will have to fill out some more paperwork, in my case a photography log saying what I took images of, and individual paper call slips for each item I worked on. 
  9. The librarians/archivists will give you one item at a time — they furnish you with a padded foam “cradle” for the delicate old items to rest on while you work with them, and book weights to hold down pages for you, as well as advice if needed while you work. The room is quite cold for preservation of old materials, so it’s a good idea to have long sleeves or a warm layer while you work. 
  10. When you are finished with each item, you take it to the desk and they will swap it out for the next one. The staff are very helpful if you have questions as you go. Enjoy the experience! 

When you are completely finished, you return your last item, pack up your things, and go downstairs to reclaim your coat and bag. Before heading down, I made use of the library’s very fast, free WiFi to be certain my digital notes and archive photos were backed up more than one place before leaving. And I left, walking on cloud nine.

I hope this is helpful for students who are new researchers, or anyone looking to make the most of some research time in NYC. It’s certainly a world-class resource, and I’m so grateful for my time working there this past weekend.

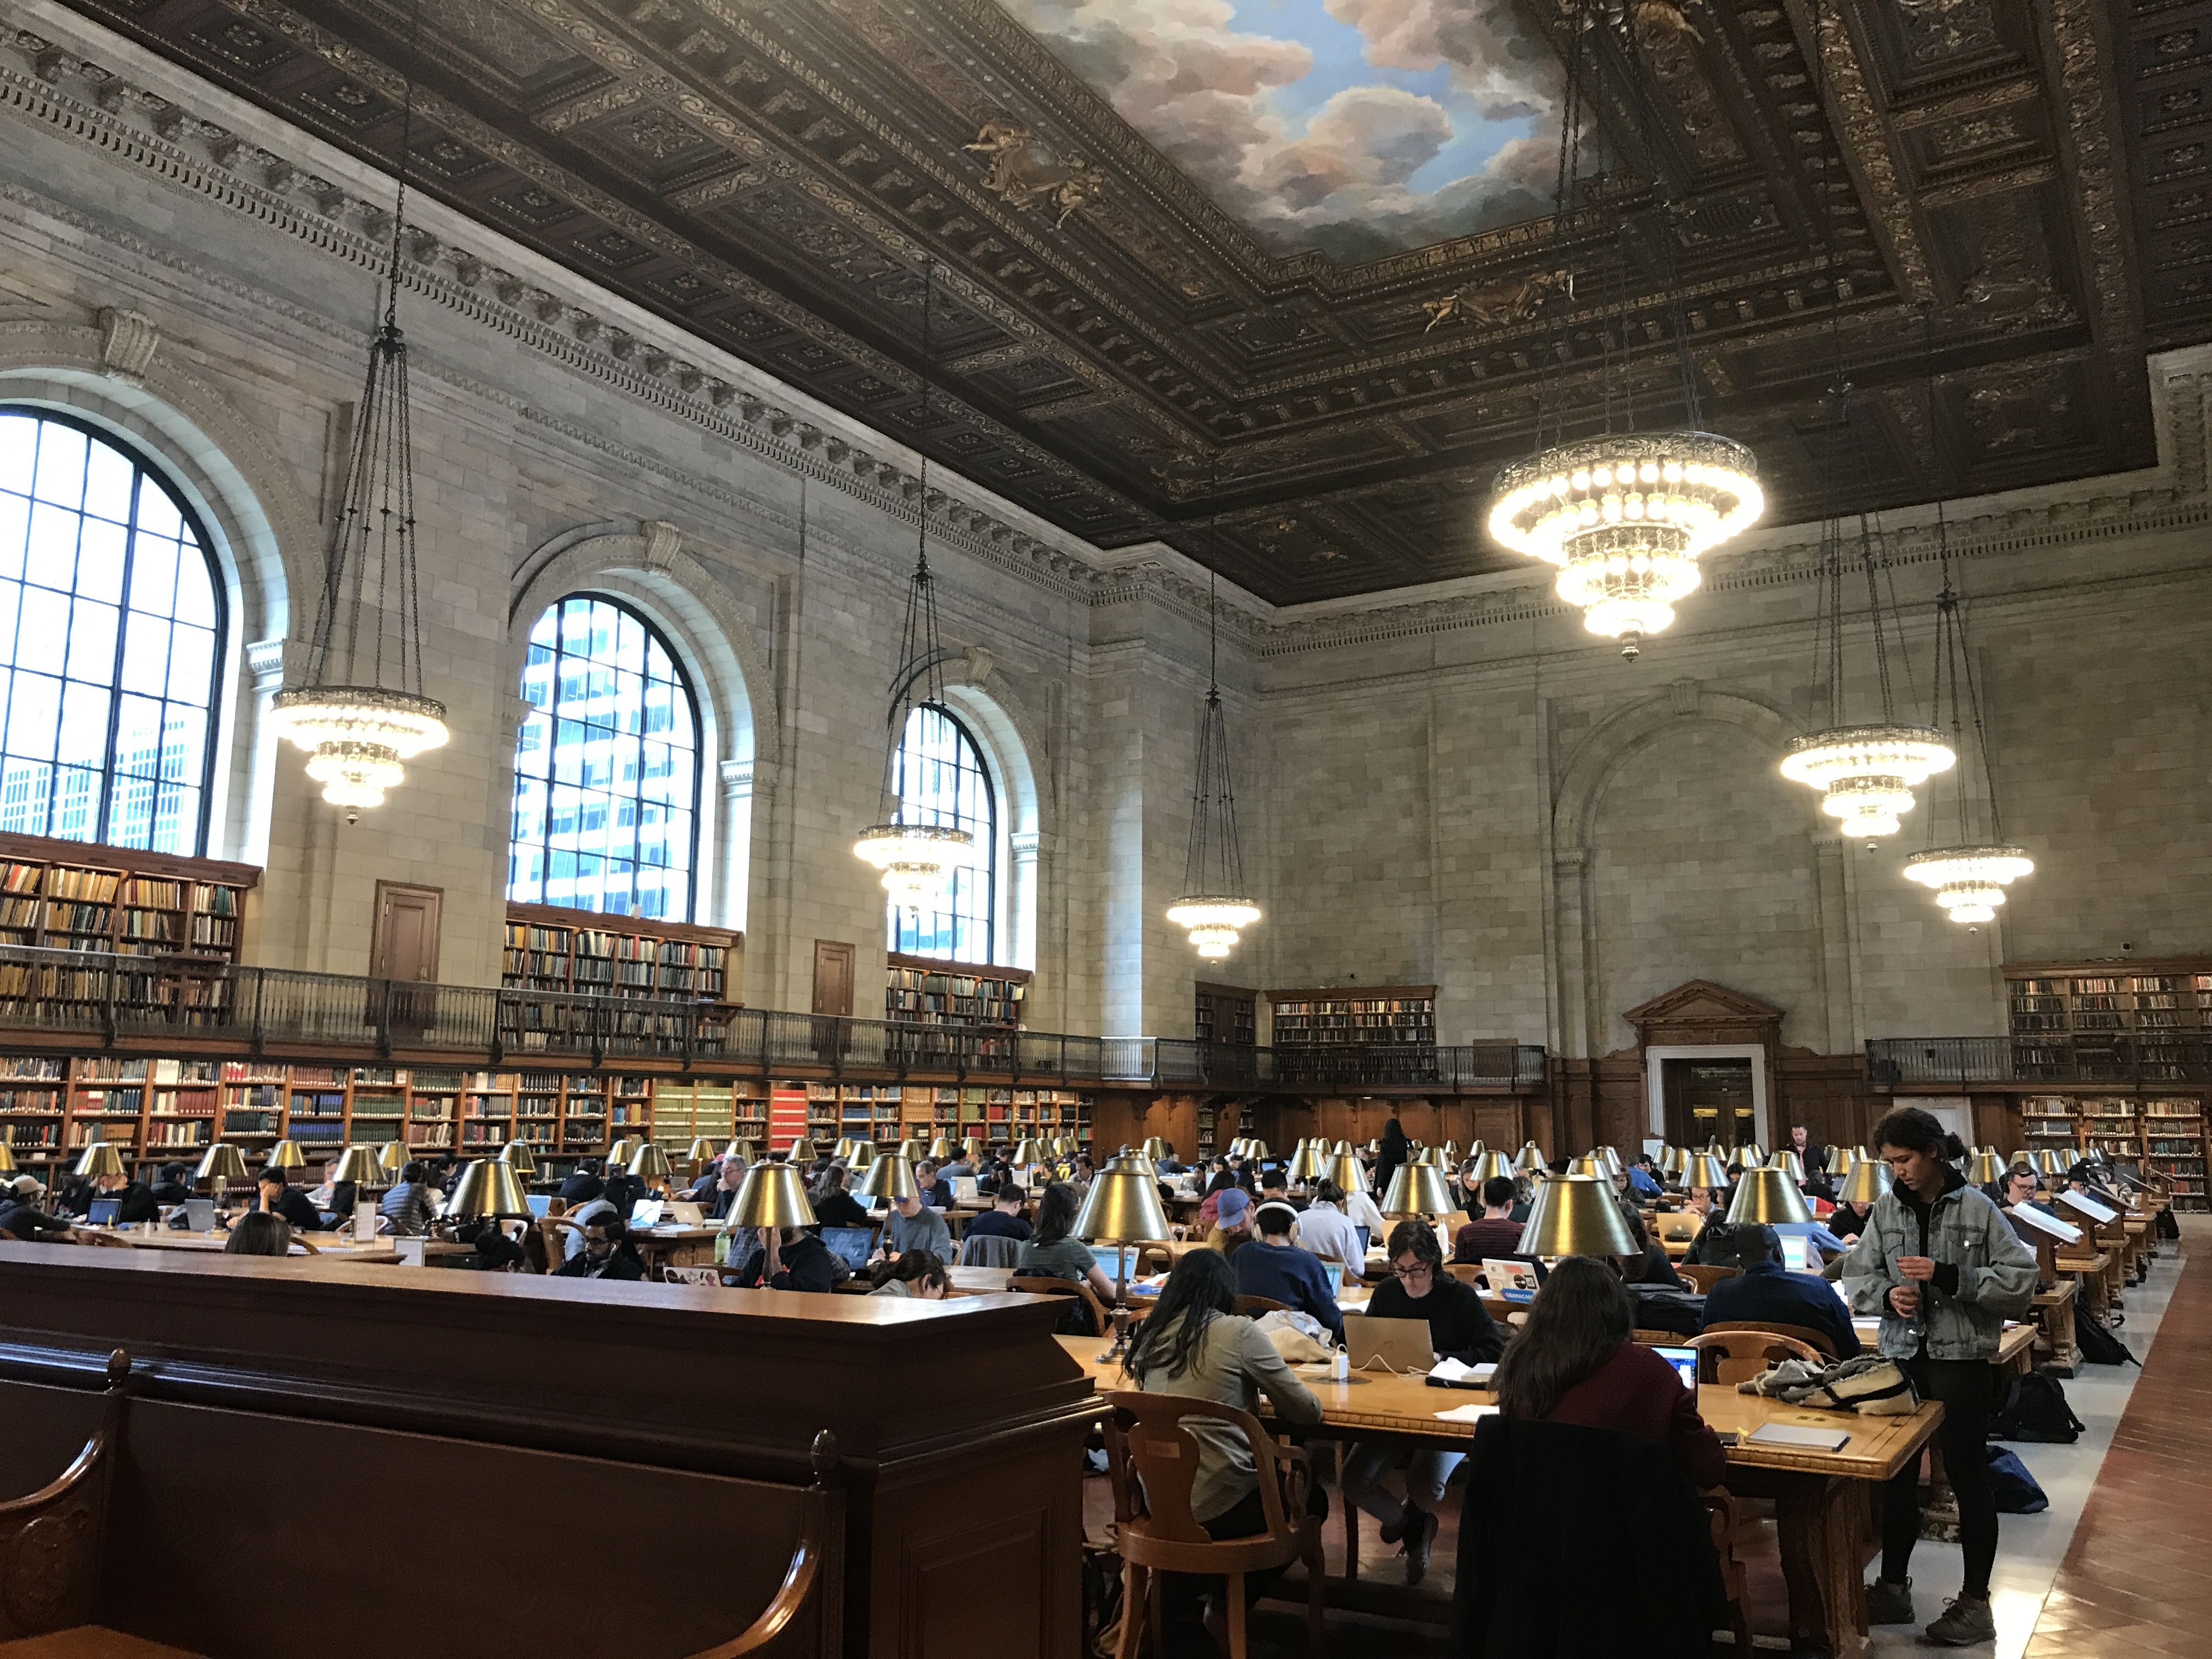
Rose Reading Room, 3rd floor, New York Public Library

PS – Even if you aren’t planning to examine special collections or other holdings from the library, consider studying for a bit in the Rose Reading Room (pictured above) on the 3rd floor. Once you get past the little whirlpool of sightseers near the door, I’m convinced it’s the finest space in the world just to sit and read a book or work on some writing. 

From How to Read ‘The Waste Land’ So It Alters Your Soul  by Mary Karr: 

Just take the references and other aspects of the poem on blind faith. Read it first for joy. Shut up your head’s claptrap and open yourself to fall in love with it. Treat it like a first date, which should begin with ignorance but also with hope. Only if you fall in love do you make a study of the beloved, for only passion lets us inquire into other people’s mysteries with the vitality born of conviction. With enough ardor, your date’s off-putting manner of dismantling chicken becomes an adorable nuance. So it is with “The Waste Land.”

[emphasis mine]


Mowbray Morris, editor of Macmillan’s, wrote to Thomas Hardy in 1886 asking him to save one of his novel characters (partway through serial publication) from too much sexual immorality:

“I have received a Round Robin concerning some offence against morality that had been smelled out in our pages! … Of course it is very annoying to have to reckon for such asses: still, I can’t help it; an Editor must be commercial as well as literary; and the  magazine has scarcely so abundant a sale that I can afford to disregard any section of its readers.”

Quoted in Philip Gaskell’s From Writer to Reader, p. 197

« Older posts

© 2024 juliesorgeway.com

Theme by Anders NorenUp ↑

css.php